Sometimes it’s difficult to know what your alignment actually looks like unless you see yourself in a mirror, window or photograph. Sometimes that’s a good thing, like when you jump off the bed doing the splits while playing the air guitar. You think you looked pretty cool, but you really don’t. …unless you’re a professional air guitar musician and have lots of time to practice, then you look way cool.
After taking the Whole Body Alignment course, I was feeling pretty good about my alignment. I was thinking, “hell yeah I got this alignment stuff figured out.” …until I went to the Restorative Exercise™ Specialist (RES) certification week and got feedback from other teachers and the big ass mirrors in front of me. I’ve made many improvements at RES certification week, I felt like crying (out of joy) at the end of the week when I looked in the mirror at my profile and saw my ribs were in line with my ASIS. Trust me it’s a big deal. It’s not about wanting to look better (well maybe a little), it’s about reducing my chances of getting osteoporosis, hyperkyphosis, avoiding diastasis recti, and hiatal hernia. The main motivation for me is so I will be able to take care of myself in old age. …and I want to be able to jump off my bed at 80 years old while shredding on my air guitar.
Below you will find some ways I increase my body awareness. I need to do this because what I look like in my “minds eye” and what I look like in reality don’t always match up.
Just to be clear, this post is about awareness, not about judging yourself or beating yourself up. And you don’t want to force “alignment” because if you do that’s not true alignment, and you will end up straining or hurting yourself. Do the corrective exercises prescribed by your RES and make change gradually to allow time for your tissues to adapt. p.s. don’t argue with yourself like I did here. I know some may look at these pictures and think I’m being harsh or judgmental, I’m not, I’m just being silly. You can’t make change without awareness.
1. Use the windows to check to see if you are landing on a fully extended leg. “Landing on a bent knee is an indication that the strength in your hips is less than the weight of your body,” Katy Bowman biomechanist read her full article here.
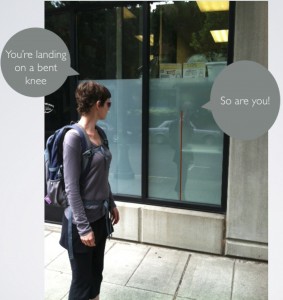
notice the red plumb line, hip, knee and ankle aligned, NICE!.
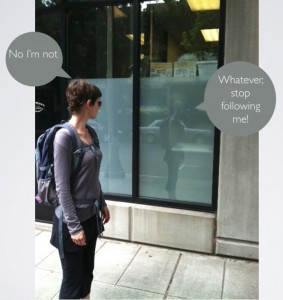
Be gentle with yourself, accept what you see.
2. Drop a plumb line from the ceiling and have your alignment buddy take a photo of you behind the plumb line.
Start by backing up so your hips are lined up with your knees and ankles first and then drop the ribs so they are over the ASIS. You can work on the rest later.
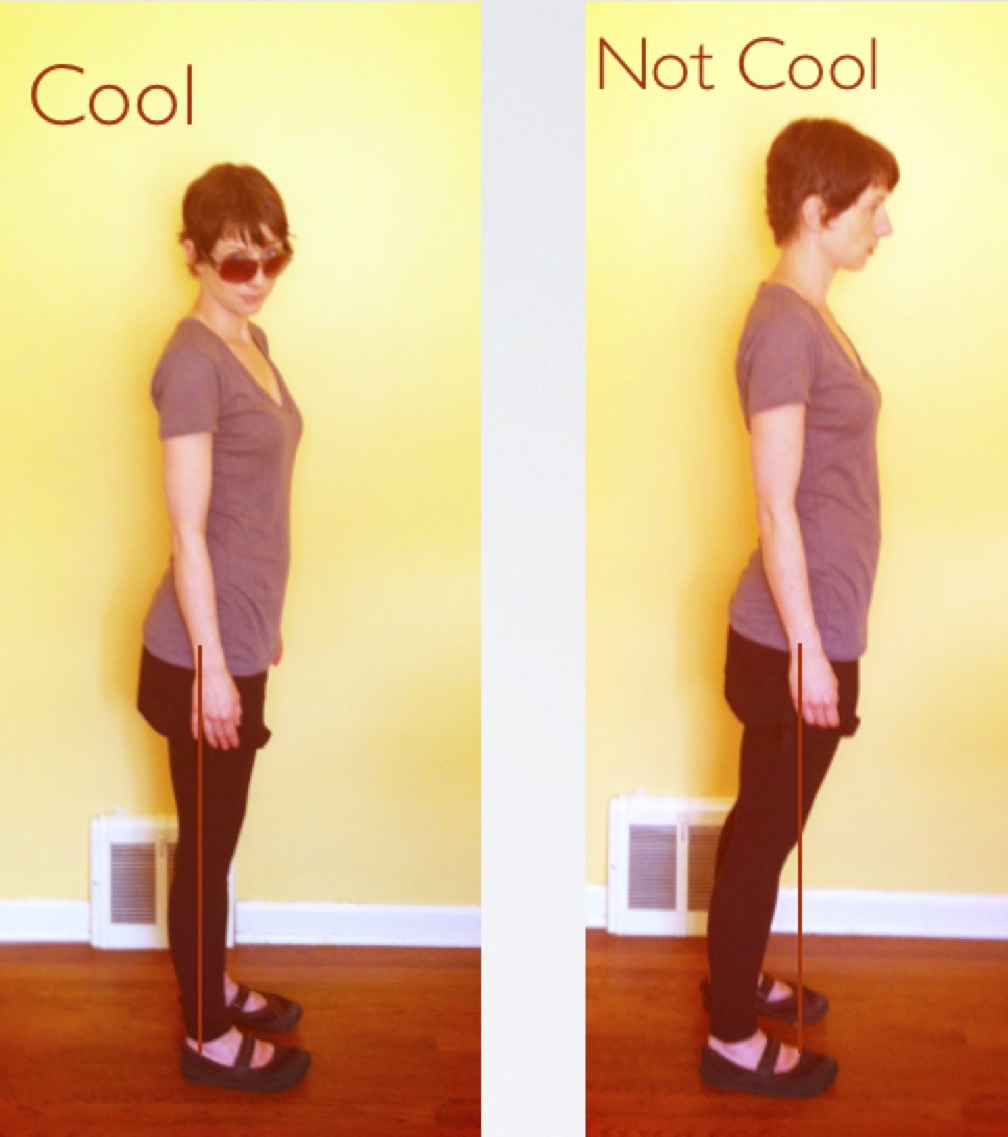
The red plumb line is an indication of what’s cool… not the aviator sunglasses.
3. Look in the mirror.
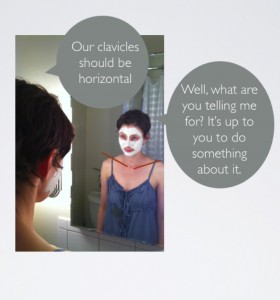
Gosh, I have a sassy reflection. I officially creeped myself out doing that last photo. Read more about how to move toward letting your clavicles down neutral here.





Great post! Drawing lines are key. After several months of taking the WBA course online, I still needed to be at RES week to have one of the teachers point out that I habitually stood with my pelvis thrust forward when not consciously practicing better alignment. Thanks!
Any suggestions on making clavicals horizontal? Thanks!
Hi Ashley, Keep your arms in neutral, elbow pits forward. And strengthen the lower traps and lats to anchor your scapulas and ribcage down. Watch to see if you are shrugging your shoulders when stressed. I imagine setting my shoulder blades down on a shelf (it actually feels really good). Katy Bowman has a great Subtle Shoulders online class, I would recommend taking that as well,http://www.restorativeexercise.com/. I also recommend the “From the Shoulders Up” DVD ($14.95). You can purchase it on my website,http://nurturance.net/content/dvd-s.php or Katy’s (see link above).